

There’s something undeniably special about raspberry thumbprint cookies—a delicate, buttery shortbread base with a luscious, jewel-toned raspberry center. These cookies are as beautiful as they are delicious, with a melt-in-your-mouth texture and the perfect balance of sweetness and tartness. Adding a touch of cornstarch ensures they hold their shape while staying soft and tender. Warming the raspberry preserves before filling the cookies creates a smooth, glossy centerthat stays put while baking. Whether you’re making them for the holidays, afternoon tea, or just because, these thumbprint cookies are a timeless classic you’ll want to bake again and again.

Tools You’ll Need
- Mixing bowls
- Hand or stand mixer
- Measuring cups & spoons
- Baking sheet
- Parchment paper or silicone baking mat
- Small spoon or piping bag (for filling)
- Wire cooling rack
- Fork (for sifting dry ingredients)
- Small saucepan or microwave-safe bowl (for preserves)
- Wooden spoon (for making thumbprints)
- Small colander (for dusting with powdered sugar)
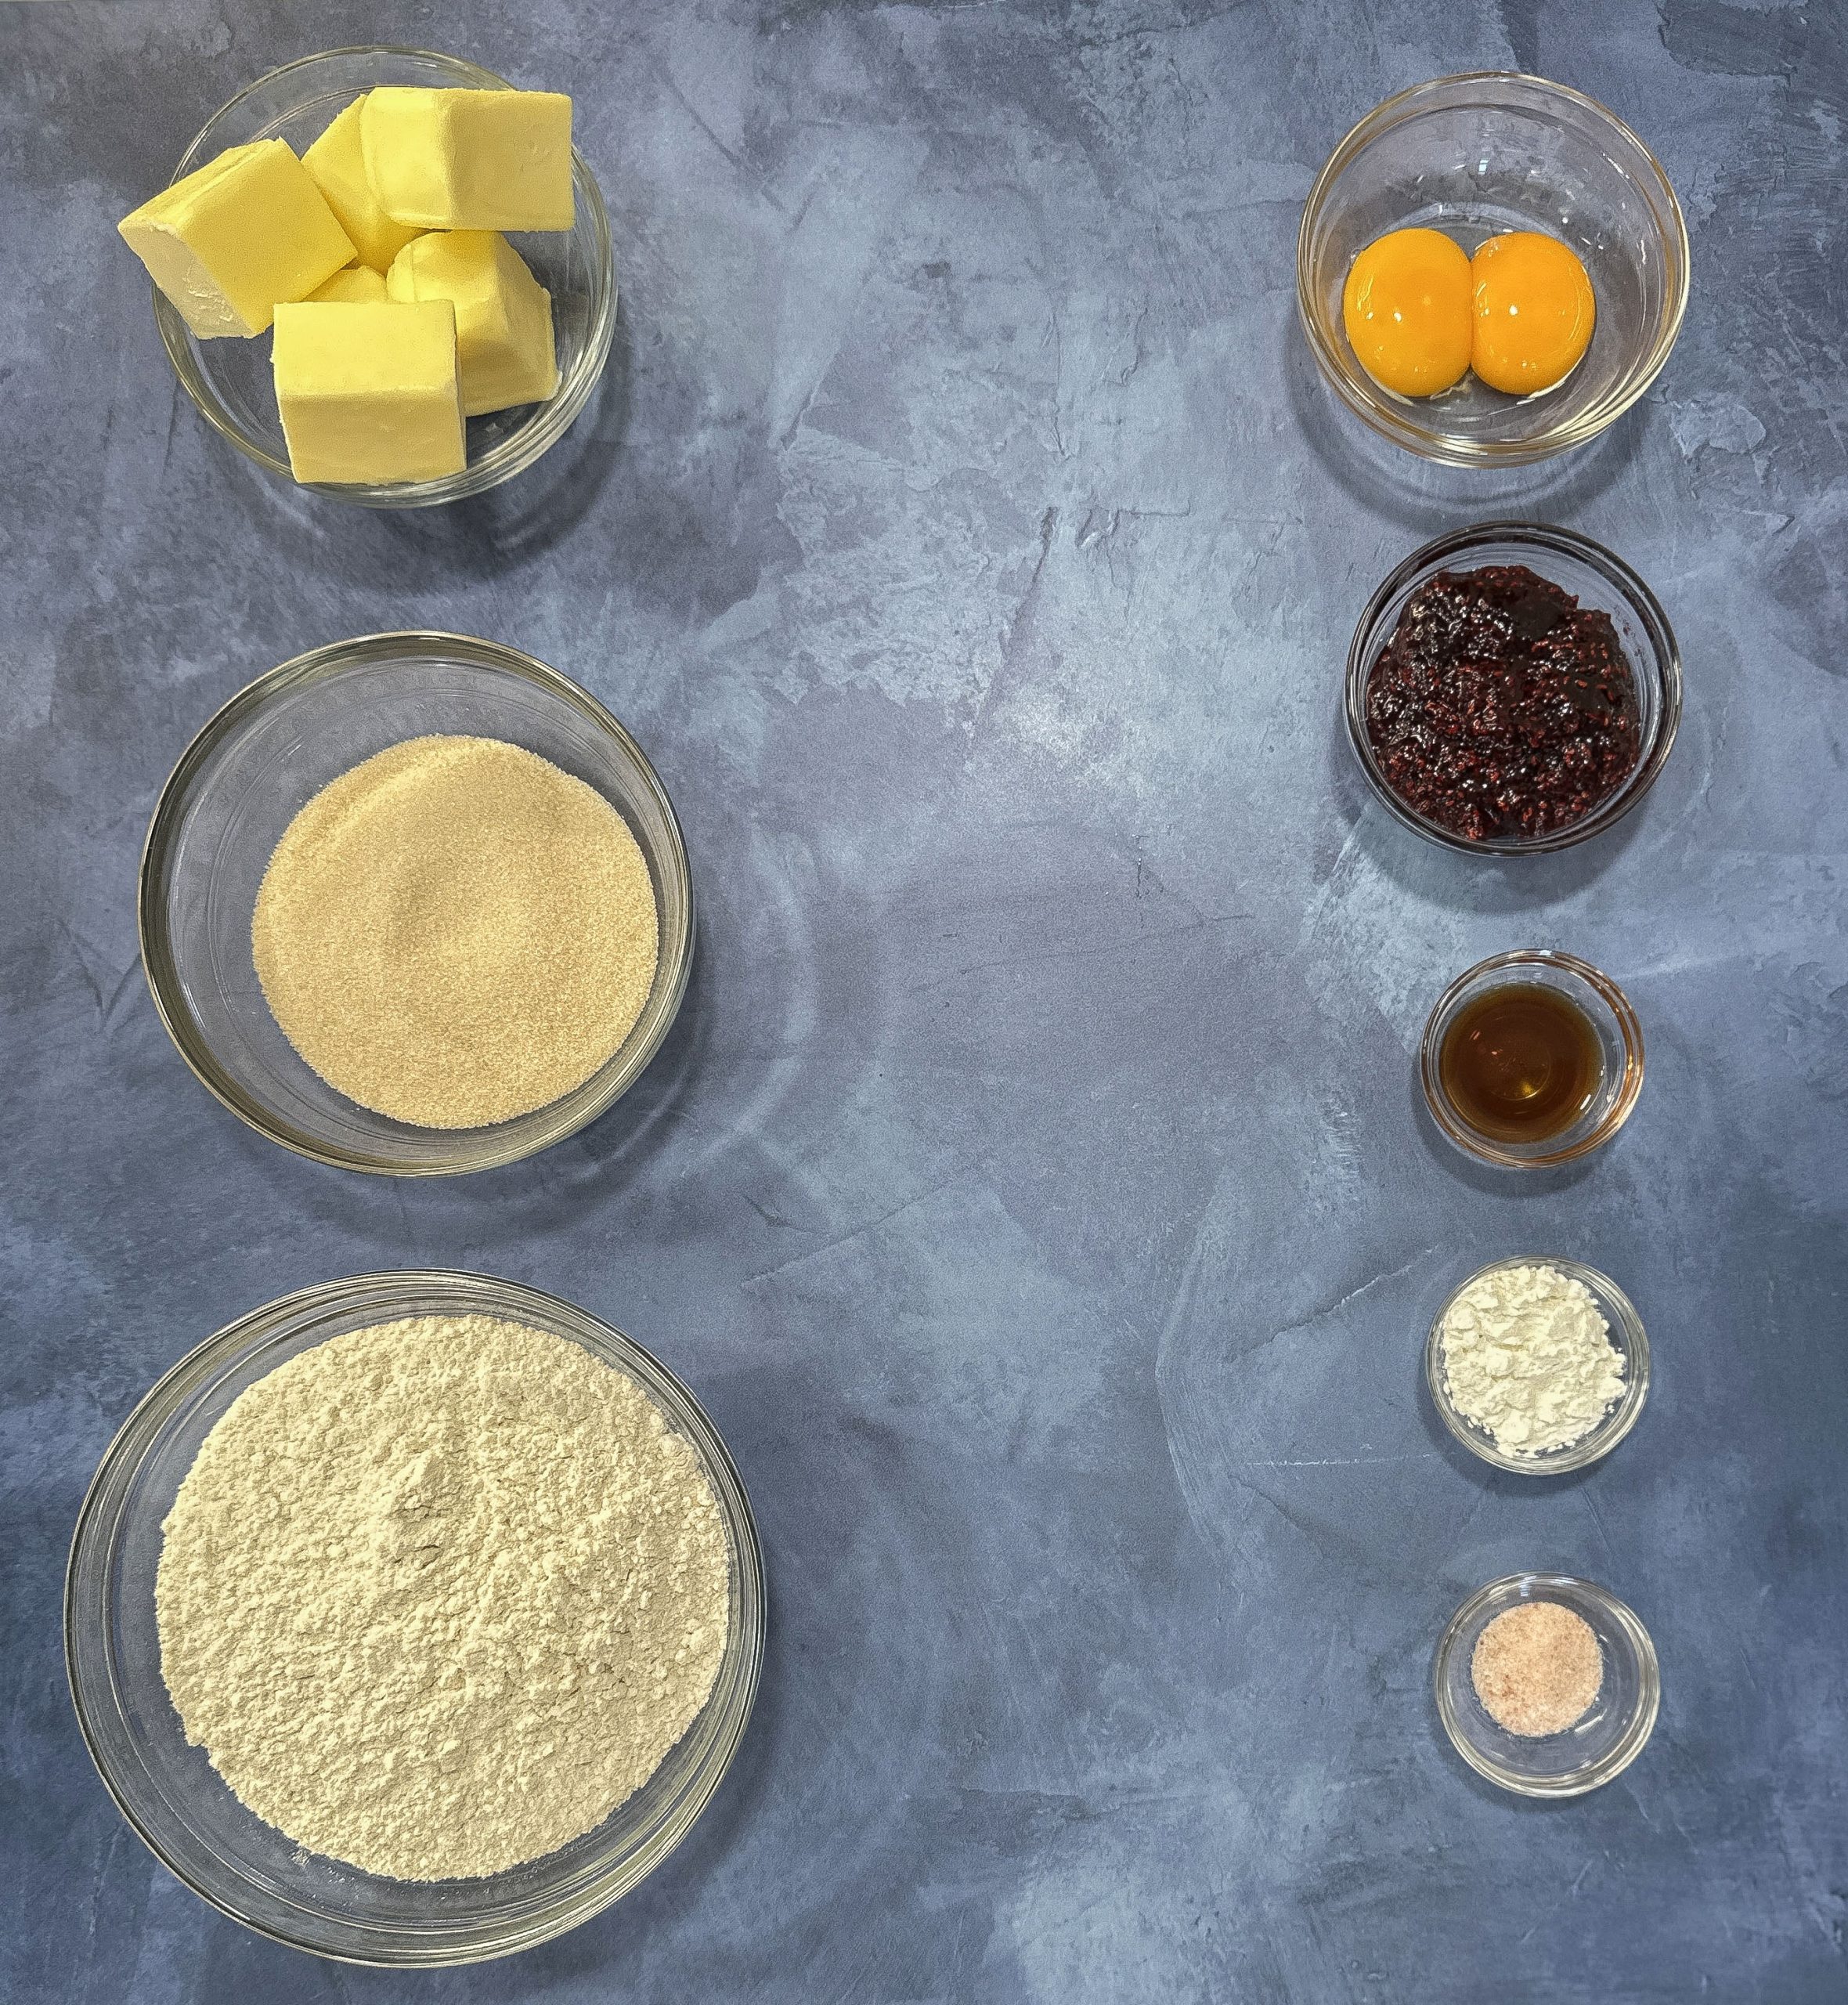
Ingredients
- 1 cup (2 sticks) unsalted butter, softened
- ⅔ cup granulated sugar
- 2 large egg yolks
- 1 teaspoon vanilla extract
- 2 ¼ cups all-purpose flour
- 1 tablespoon cornstarch
- ½ teaspoon salt
- ½ cup raspberry preserves
- 2 tablespoons powdered sugar (for dusting)
Instructions
- Preheat & Prep. Preheat oven to 350°F (175°C). Line a baking sheet with parchment paper.
- Sift Dry Ingredients. In a small bowl, use a fork to sift together flour, cornstarch, and salt. Set aside.
- Cream Butter & Sugar. In a large mixing bowl, beat butter and sugar until light and fluffy.
- Add Egg Yolks & Vanilla. Mix in egg yolks and vanilla extract until smooth.
- Incorporate Dry Ingredients. Gradually mix in the sifted flour mixture until a soft dough forms.
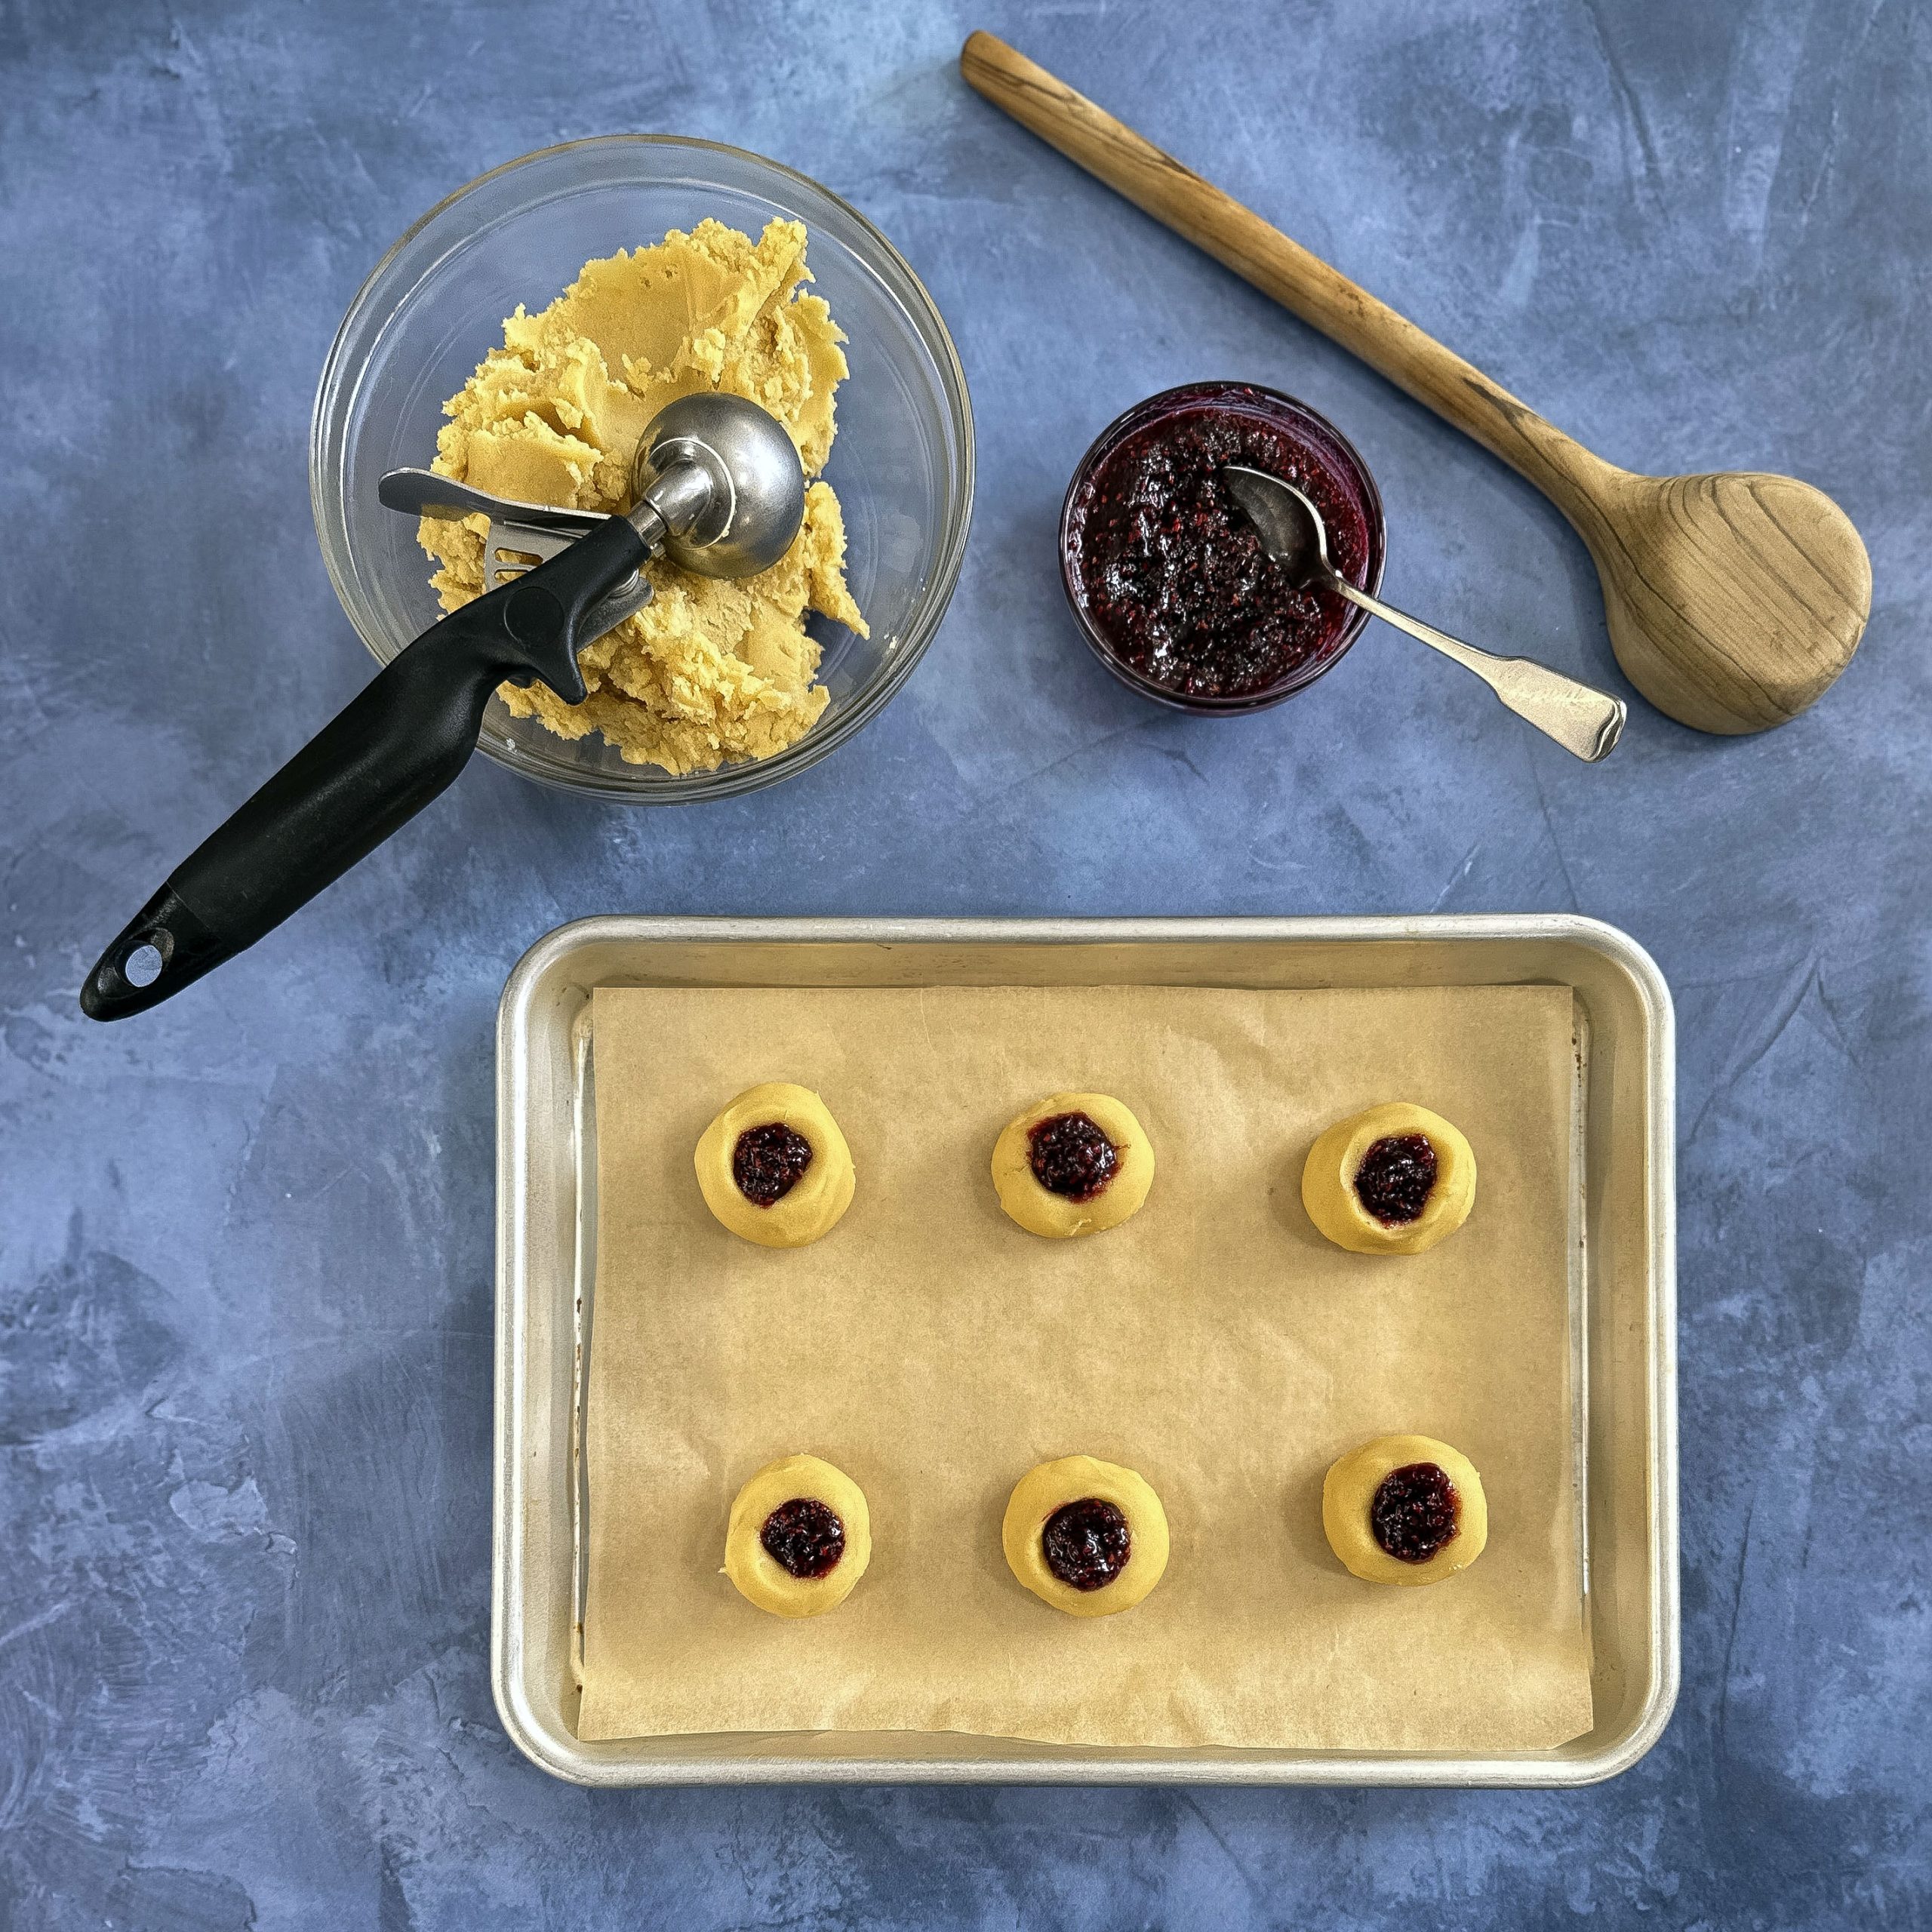
- Shape & Indent. Roll dough into 1-inch balls and place on the prepared baking sheet. Use your thumb or the round end of a wooden spoon to create a small indentation in the center of each cookie.
- Chill the Dough. Refrigerate the shaped cookies for at least 30 minutes to prevent spreading.
- Heat the Raspberry Preserves. Warm the raspberry preserves in a small saucepan over low heat (or microwave in 10-second intervals) until smooth and slightly runny. Stir well.
- Fill & Bake. Spoon about ½ teaspoon of warm preserves into each indentation. Bake for 12-14 minutes, or until the edges are just golden.
- Cool & Enjoy. Let cookies cool on the baking sheet for 5 minutes, then transfer to a wire rack to cool completely.
Storage & Shelf Life
- Room Temperature: Store in an airtight container for up to 5 days.
- Refrigerator: Keeps fresh for up to 1 week when stored properly.
- Freezer: Freeze in a sealed container for up to 3 months. Thaw at room temperature before serving.
Betty’s Pro Tips
- Chilling the dough is key—don’t skip this step!
- Heating the preserves prevents it from thickening too much while baking.
- Dust with powdered sugar for a bakery-style finish!

Leave a comment